Peel, core, and slice a little thicker than 1/4 inch thick:
3 pounds apples (6 to 8 medium-large)
In a very wide skillet or pot, heat over high heat until sizzling and fragrant:
3 tablespoons unsalted butter
Add the apples and toss until glazed with butter, Reduce the heat to medium, cover tightly, and cook, stirring frequently, until the apples are softened on the outside but still slightly crunchy, 5 to 7 minutes. Stir in:
3/4 cup sugar
1/2 teaspoon ground cinnamon
1/8 teaspoon salt
Increase the heat and cook the apples at a rapid boil until the juices become thick and syrupy, about 3 minutes. Immediately spread the apples in a thin layer on a baking sheet and let them cool to room temperature.
Position a rack in the lower third of the oven. Preheat the oven to 425.
Pour the apple mixture into the bottom crust. Cover with the top crust or lattice, seal the edge, trim and crimp. Bake until the crust is richly browned and the filling has begun to bubble, about 40-50 minutes. Let cool completely on a rack.
And the crust; Flaky Cream Cheese Pastry Dough from page 864-66 (I'm doubling this):
Whisk together thoroughly in a large bowl:
2 1/2 cups all-purpose flour
2 tablespoons white sugar
1/2 teaspoon salt
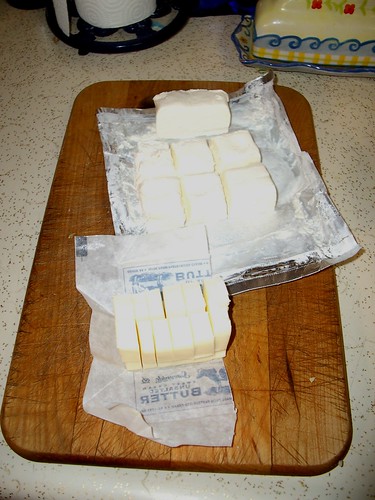
Cut into 1/4 inch pieces and add:
12 tablespoons (1 1/2 sticks) cold unsalted butter
6 ounces cream cheese
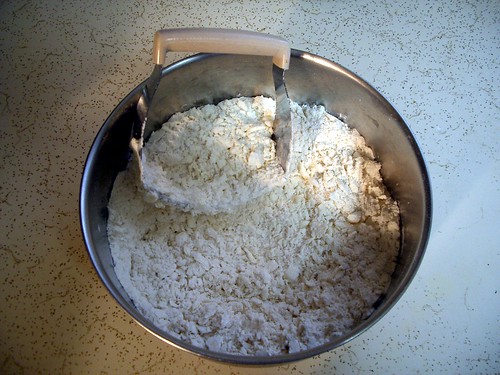
Using a pastry blender, cut the cream cheese and butter into the dry ingredients until the mixture resembles coarse crumbs with some pea-sized pieces. Drizzle over the top:
2 to 3 tablespoons cold heavy cream
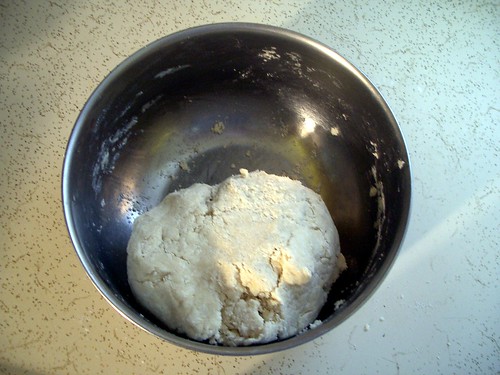
Stir in with a fork until the dough begins to gather into moist clumps. Press the dough into a flat disk.
OK - on with the show!
I started by peeling and coring the apples (I use Granny Smith's for the tartness) - if I haven't sung you the praises of this automatic apple peeler, let me just say: This thing makes peeling apples fun!
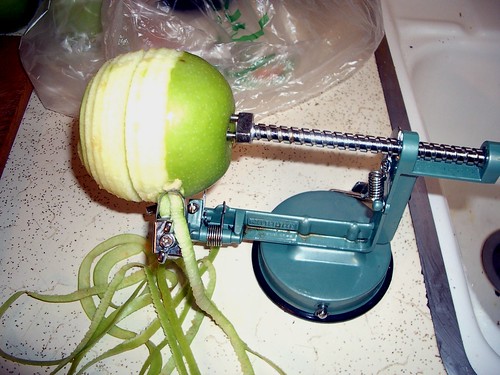
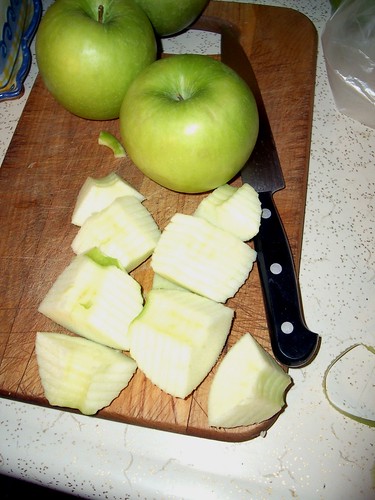
Got them all peeled, and quartered - one nice thing about that peeler is that it makes all the slices the same thickness, which makes for standard cooking times...
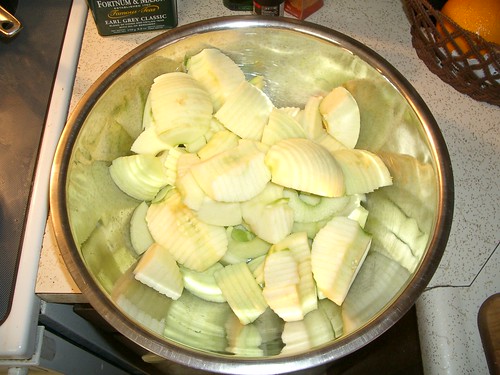
Here's the whole batch in a bowl, ready for the next step:
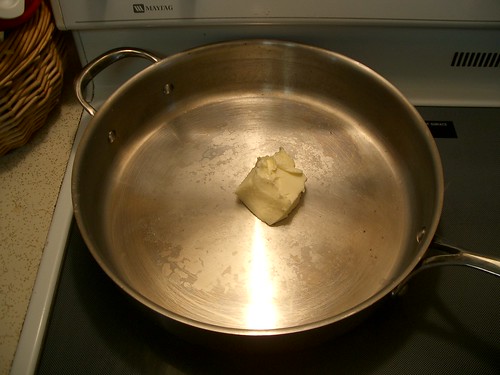
Which was getting some butter melting in a nice big pan:
I deviated slightly from the recipe here - I added most of the sugar and spices to the apples before I had cooked them down. Honestly, I was just distracted by taking the photos, but it seemed to work out okay in the end. Here's apples and stuff:
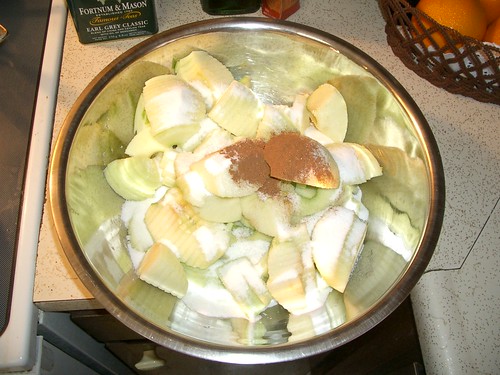
And the same all nicely mixed:
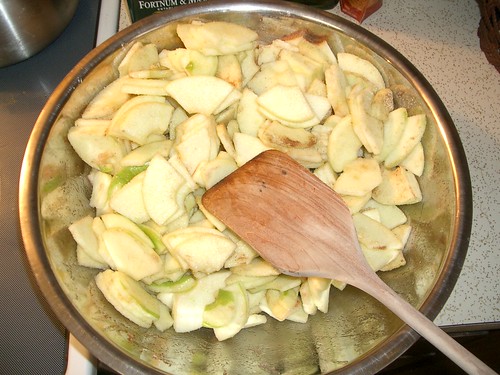
By now, the butter is melted and pretty hot:

And we put the apples in the pan and toss them to coat with the butter:

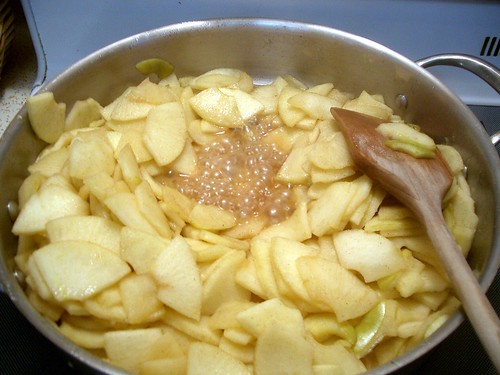
Like the recipe says, cook the apples until the outsides have softened, but are still crunchy inside. I find that 5-7 minutes is too long, and everything gets pretty mushy after the next step, which is to raise the heat and let the sugars for a syrup with the juice from the apples.
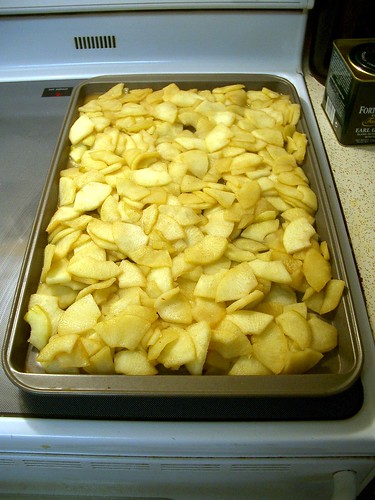
After they're satisfactorily cooked, let them cool on a cookie sheet while you make the dough:
While typing this up, I just noticed that I didn't double the amount of butter used; just the cream cheese. Oh, well - I guess that's testament to the amount of leeway in most recipes: I should have used 12 tablespoons of butter, but I only used 6:
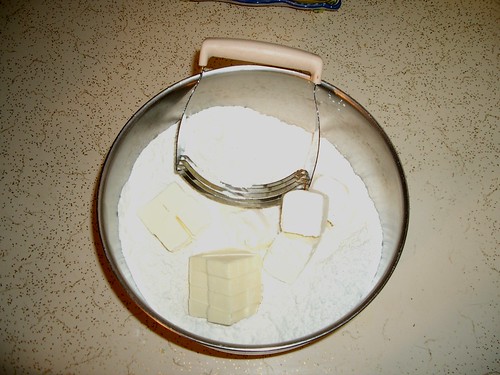
This goes in with the dry ingredients, where it's cut in with a pastry blender:
Until it looks about like this:
Then the liquid is poured on (I ran out of cream, so I substituted water for the last bit that was needed) and it's stirred until it starts clumping together:

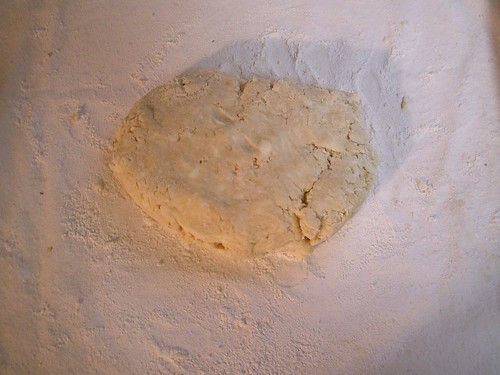
And it can be pulled into a ball like this:
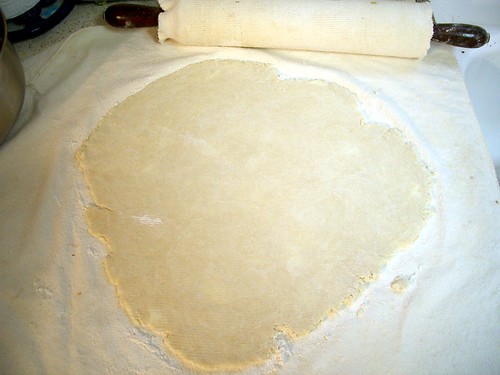
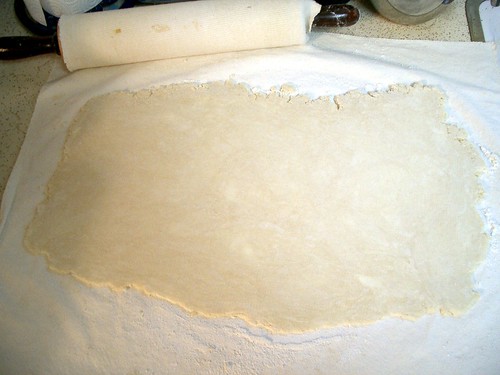
I halved the dough, and started rolling out the bottom crust:
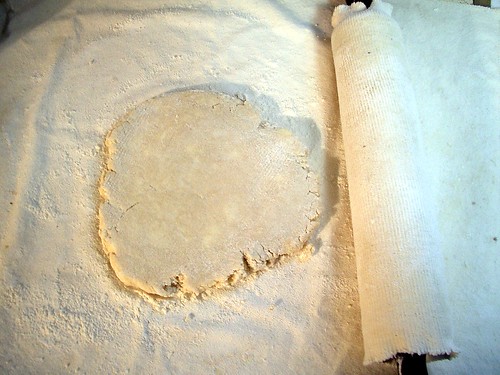
To a circle slightly larger than the pie pan to be used:
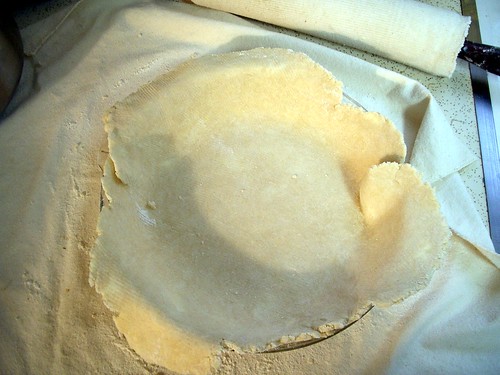
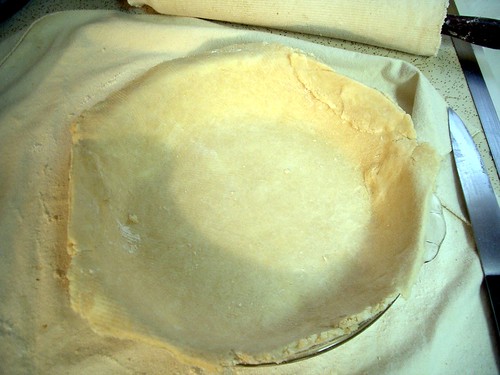
Then transfered this crust into the pan:
And trimmed and patched the edges:
Then started with the top crust - went for more of a rectangular shape here, for reasons which will soon become obvious...
Got it all rolled out:
And cut into strips for the lattice top:

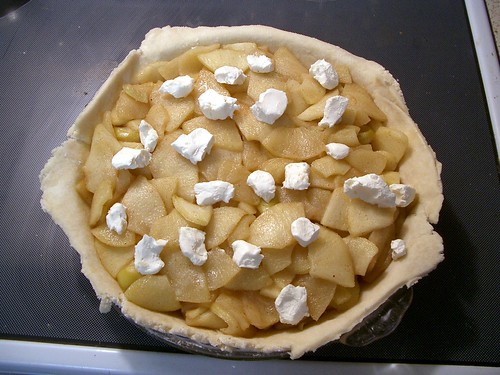
Then transferred the cooled apple mixture into the bottom crust:

Two pictures of that step, I guess:

And then dotted the filling with the leftover 2 ounces of cream cheese:
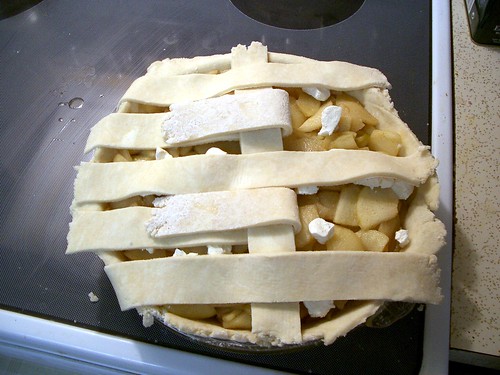
Now for the lattice top: Started by laying down the horizontal rows:

Then folding back every other row and laying down a vertical piece:
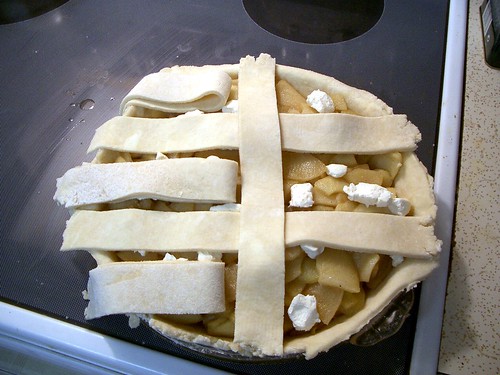
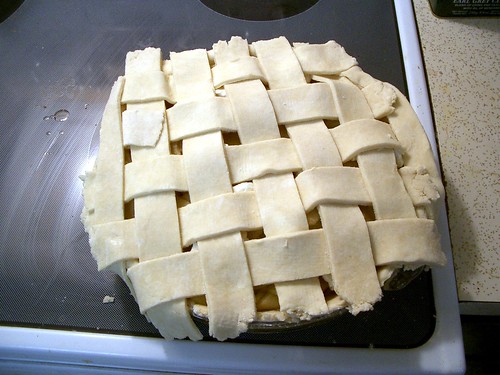
Flopped the horizontal pieces back into place, and flopped back the alternating horizontal pieces:
Which left a place for the next vertical piece. Then flopped those horizontal pieces back, alternated again:

And so forth until the top is completed:
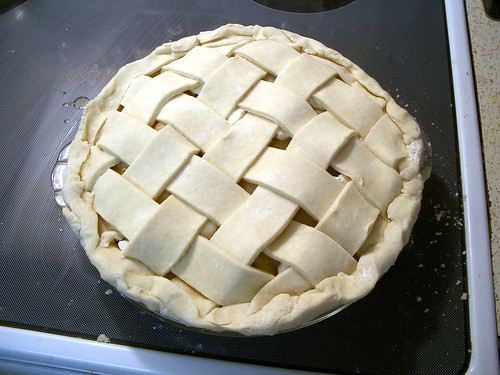
Then trim and flute the edges and get ready to bake:
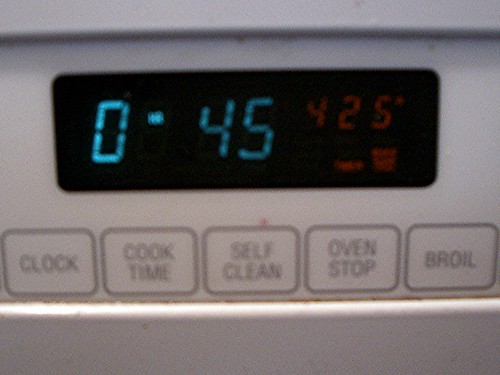
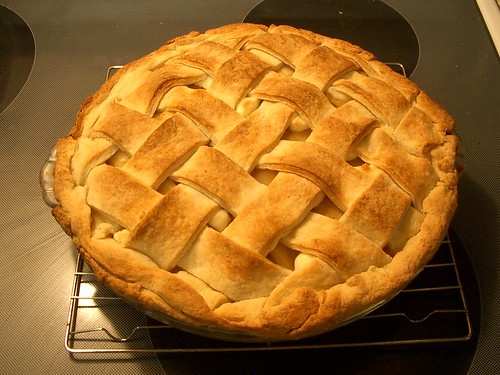
Into the oven - I use one of these pie rings; keeps he edges from burning:

45 minutes at 425 degrees:
And out it comes!
Bonus picture of our kitchen mascot, the piggie potholder...


5 comments:
Oh man! You were sure having fun with your camera! (Did you get flour all over it?) Such detail- it looks like it took a long time to make, but each part looks good to eat before you even put it together! (Which I probably would have done if it were me making it.) You make baking look like such an artform, and your counters are clean I noticed- did you do that just for the pictures, or do you clean while you cook normally? And the apple peeler also cuts the appple into pieces? I guess I just can't see that part. Handy! And so is that pie ring- I haven't seen one of those before, but you're right- the edges look as perfect as the rest of the lattice. As always, I am totally impressed, and drooling (and a long blog deserves a nice long comment too!). :)
-Guess who?
No, the camera stayed pretty clean. And of course I nibble while I cook; you have to make sure everything tastes ok! I also clean as I go; I hate having a huge mess when I'm done - just a few dishes in the sink to put away. The crust protector is a must - when I first bought it, you could only get them in gourmet shops, but now I've seen them in normal grocery stores...
I'll have to look into getting one of those, if I ever am brave enough to take on pie-baking. >"< (that's my kitty).
I had an instant reminder of the Backyardagins and Samarai pie. You did a beautiful job with the pictures as well as the pie. And you sold me on the apple peeler. I can't miss out on that fun!
Hey guess what! I'm making this exact pie right now! Except that I'm using premade pie crusts 'cause that's what was available. I'll fill you in with the rest of the story later of why I'm making an apple pie...
Post a Comment